Starting Your Garden with Seeds – detailed differences
- heirloom - untreated - sustainable - vegetable seeds - Bountiful Gardens
Heirloom, untreated, open-pollinated seeds, supplies, books, and Grow Biointensive publications for sustainable gardening.
- Territorial Seed - Vegetable and Flower Seeds at Territorial Seed Company
Territorial Seed - Vegetable, Flower & Herb Seeds and Plants at Territorial Seed Company
Starting your garden with seeds is a much less expensive way to go. Since we could all use the savings these days, here is the scoop on seeds – from beginning through protection in your garden.
Seed guide - ages and testing for germination
Starting mediums, soil mixes with recipes
Starting containers with depth differences
Sowing indoors (including temperature requirements)
Sowing outdoors (including cloches & cold frames)
Plan before planting
Resources referenced and recommended
- Park Seed: Seeds and plants for vegetable, flower, annual and perennial gardening.
Seeds and plants for every gardener in every area of the US. We sell the largest selection of vegetables, flowers, annuals, and perennials.
- Burpee Seeds and Plants for home gardens. Vegetables, flowers, herbs, annuals and perennials
Seeds, plants and supplies for home gardeners. Large, exclusive selection of vegetables, perennials, annuals, herbs, and bulbs.
Seed guide - ages and testing for germination:
Most seeds are usable for 1 – 5 years. If buying packages, they will have an expiration date. If some have been hanging around for awhile, this guide will help: Carrots, onions, and peas – 1 year; corn and peppers – 2 years; beans, beets, kale, radishes, spinach, tomatoes and turnips – 3 years; cauliflower, eggplant, melons, pumpkin, squash and Swiss chard – 4 years; with cucumbers and turnip seeds – 5 years.
Seeds are sturdy but an easy way to test germination is to place a dozen or so between damp, not soppy paper towels. Roll the towels up and place them in an open plastic bag – open enough for air circulation, closed enough to retain moisture. Check daily for signs of germination depending on how long they are supposed to take.
If you have a small garden or are planning a container garden, getting the young plants from a nursery may be less work and cheaper. I.e. tomato, cabbage, or squash.
I've ordered from all 4 of these top seed companies and added the links for your convenience. They're all great - no gliches - great service - great products. You can ask them for a catalogue of what they offer or simply look online. I almost always spend more with catalogues because I find extras I hadn't thought about and would love - but that may just be me...
Soil mixes


Starting mediums, soil mixes with recipes:
Commercial potting compounds are usually a mixture of vermiculite, sphagnum moss and plant food. You can also simply use sand mixed with sphagnum moss or just vermiculite. Vermiculite is a mineral product that is light, inexpensive, porous and holds water well. If using your own compost, be sure to sterilize it first by baking it slowly in a shallow pan until it reaches 180 degrees. To cut down on your work later on, you can use plain old soil too but sterilizing it will get rid of diseases and insect eggs. Add a little vermiculite and sphagnum moss to lighten the soil after sterilization.
There are also commercial seed starting mixes but it can be less expensive to make your own. Here are a few additional recipes with and without nutrients. Seeds do not need the nutrients initially but will after they have sprouted and developed true leaves so depending on how long before transplanting will determine which mix to use. For 1 gallon of mix: a) no nutrients - 2 qt sphagnum peat, 1 qt vermiculite, 1 qt perlite, 1 tbsp ground limestone. B) some nutrients – 2 qt sphagnum peat, 2 qt vermiculite or perlite, 2 tsp ground limestone, 2 tsp bonemeal. C) Modest nutrients – 2 qt commercial potting mix, 1 qt perlite or course sand, 1 qt sifted compost (or sterilized as above).
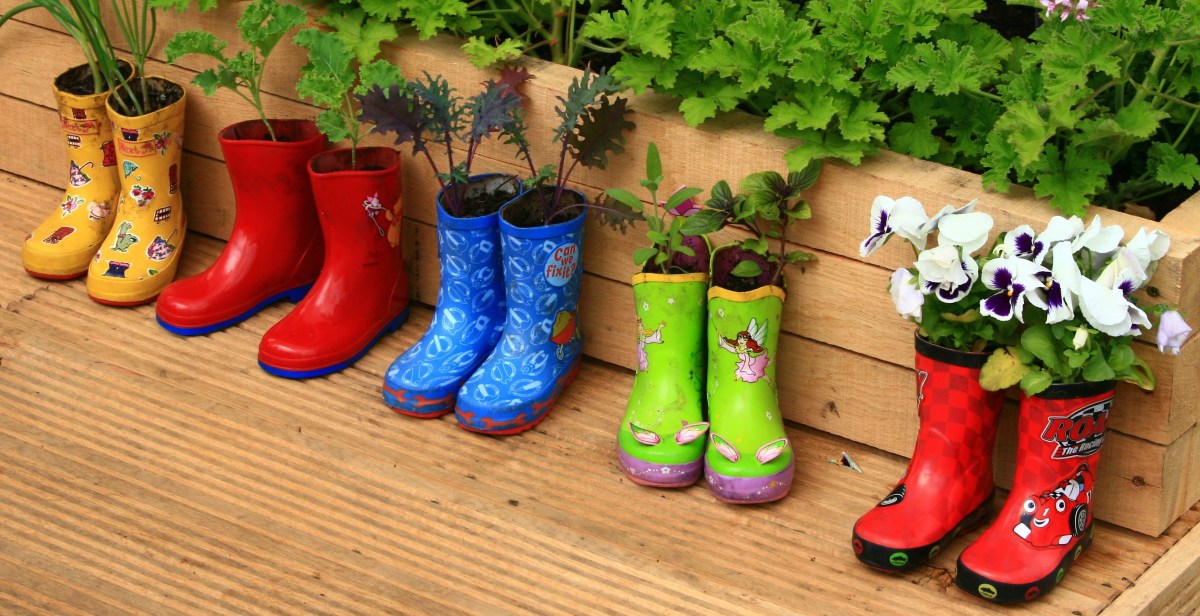
containers - recycle or use peat
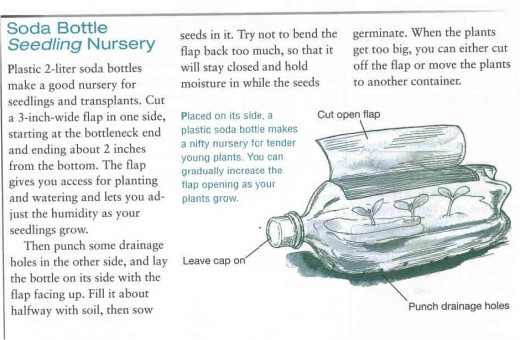
Starting containers with depth differences:
You can start your seeds the old fashioned way in flats. On the other hand, if you have children and want them to see the wonder of them popping open, you can place them on a large tray lined with damp paper towels. There are four stages of germination – be sure to have your containers ready after they have opened but before the seed leaves sprout.
It is much easier to simply use small containers and sow 3 – 4 seeds in each. The most convenient are peat pots but you can use anything waterproof i.e. yogurt cups (be sure to poke drainage holes in bottom). The roots will grow right through peat so they don't have to be disturbed with transplanting. There will be tiny seed leaves first - wait until the true leaves form. Then, cut off all but the strongest true leaved plant at soil level. Do not pull out the others as they might damage the best one you want to nurture.
Most seeds germinate quickly with a light covering of soil. The few that germinate better with more light can be placed on top of medium: celery, dill, lettuce, and savory. Cover the following with enough soil to exclude light: coriander, fennel, parsley, & tomato. Soaking others overnight will hydrate the embryo to speed germination: asparagus, beet, okra, parsley, and spinach. Most seed companies sell pre-inoculated seeds. If not, these require inoculation: bean, chickpea, lima bean, pea, and soybean.
weekly feeding - compost tea
Sowing indoors (including temperature requirements):
Start them in a warm environment (70-90 degrees) – the kitchen sill works but to speed up germination, a darker place is better. Check them daily and keep them moist (not soggy). To conserve moisture, create a mini greenhouse by stretching plastic wrap over the containers.
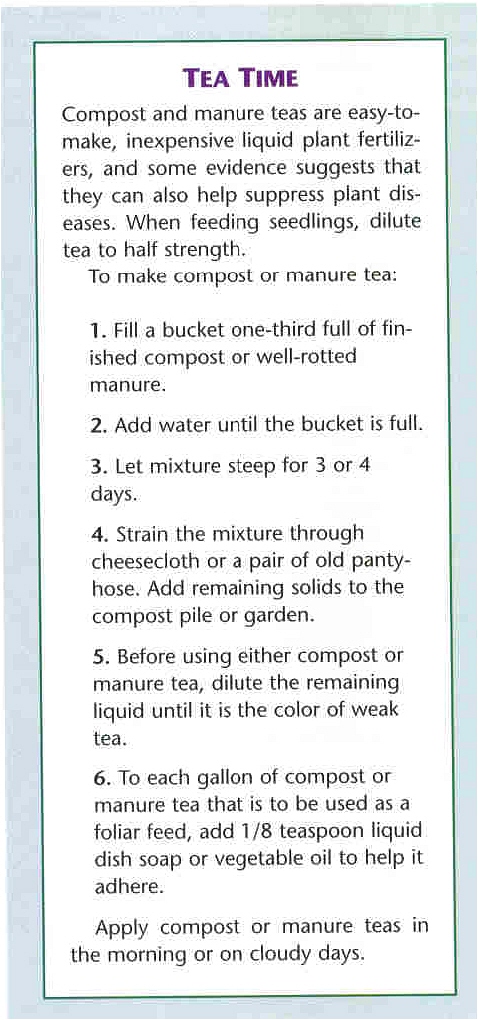
Once they have sprouted, move them into direct sunlight, and again, keep them only moist to prevent fungus – removing the plastic. Rather than direct sunlight, you can also use a simple, conventional florescent light suspended 2 – 4 inches above the seedlings. A weekly feeding of half strength compost tea or fish emulsion will ensure hearty growth.
Harden them off as they near four to eight true leaves by putting them outside for short durations at a time. Start with about an hour the first day (not as strong as the midday sun though) and increase the time each day for about 2 weeks. Then, ready for transplanting, it is best to wait until late afternoon or a cloudy day. It is also a good idea to set out a plastic covering over where you will be transplanting the seedlings to warm the soil. Bear in mind at all times, plants are like delicate little babies – handle with care and do not shock them by changing their environment dramatically.
Cloches
cold frames
Sowing outdoors (including cloches & cold frames):
Once the threat of a real frost no longer exists (mid to late spring), it is much easier to start your seeds outdoors. Wait until the soil is 45 degrees for peas, radishes, dill, and beans. Wait until its 65 degrees or 70 degrees for the sensitive heat lovers such as eggplants, okra, pumpkins, and melons.
Herbs that prefer on site starting once it warms up are anise, chervil, dill, coriander and cumin plus the biennial parsley.
Prepare your plot with tilling etc., mark straight rows with a taut string and make sure it is crumbly or friable to a depth of 10” just before planting. Loose, fine soil is important for all seeds but particularly so for root crops (carrots, beets) so take a rake and loosen. The conventional wisdom when planting by hand is to set the seeds 2 – 3 times as deep as their diameter. If your soil is heavy, plant closer to the surface, if light, a little deeper. Not all will sprout so plant a few extra – thinning is easier than starting with new seeds. Covering the seeds with a soilless growing mix helps and firmly but gently pack down to ensure the seeds are contacting and surrounded by your mix. I have always watered and then put a tiny bit more mix or soil on top but if everything is already damp, this may not be necessary.
There are a few ways to protect your “babies” when initially planted. One is to cover them with plastic milk jugs. Cut the bottom on three sides and anchor the jug down with a rock on the flap. This will prevent frost and wind damage. You can also cut an inch or two off the top of the jugs to make watering easier. Another is to use the translucent, under-the-bed plastic storage containers (kind with snap on lids). They make wonderful miniature greenhouses when turned upside down. Easily removed on warm days to allow air circulation, they act as protectors for hungry birds the rest of the time.
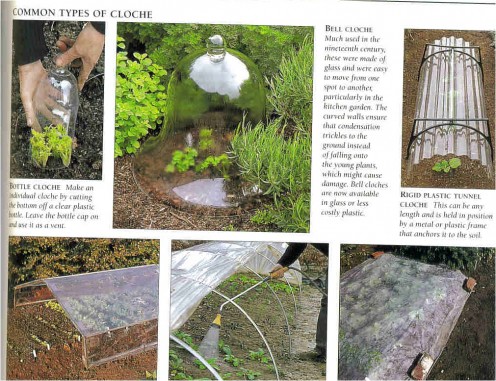
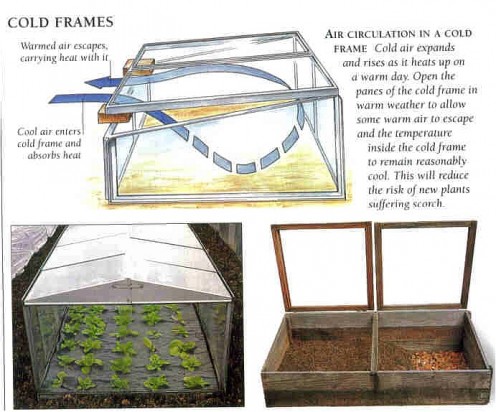
You can also use cloches or cold frames to protect the sprouting seedlings. These are highly recommended if there is any chance the temperatures will drop more than 10 degrees at night.
A cloche is a smaller version of a cap for single plants or a few closely spaced small ones. You can either purchase or make your own. The very first were the bell shaped glass jars used in the 17th century French market gardens. Today, choices include wax paper, plastic, glass and polyethylene tubes filled with water. You can also make them by recycling household articles such as the plastic jugs mentioned. If you want to use the latter without a flap and rock, simply put a stake beside the seedling long enough for it to protrude out the top.
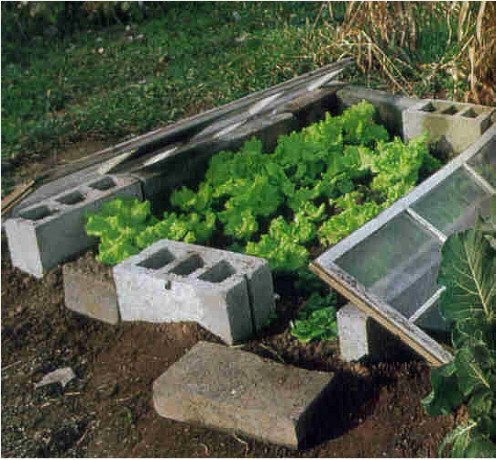
Cold frames are larger. You can take a corrugated fiberglass sheet bending to cover the row and allowing proper air circulation. Alternatively, many simply use old storm windows resting on cinder blocks. Since their purpose is to get an early crack at planting, they are temporary. I have heard of people using old drawers as germination flats, and then continuing the process by setting them outside with a slightly opened plastic lid. Transplanting with the latter seems too labor intensive and shocking for the plants to me unless you intend to keep them in place permanently - bottomless.
Culinary garden
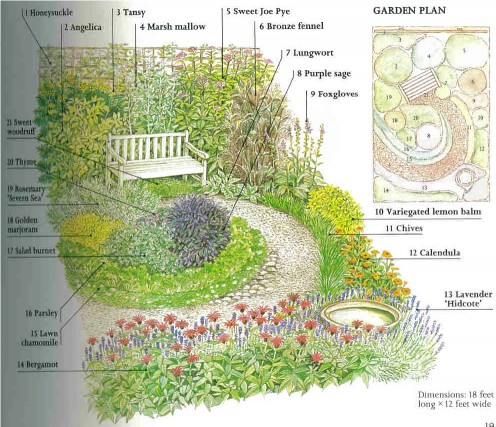
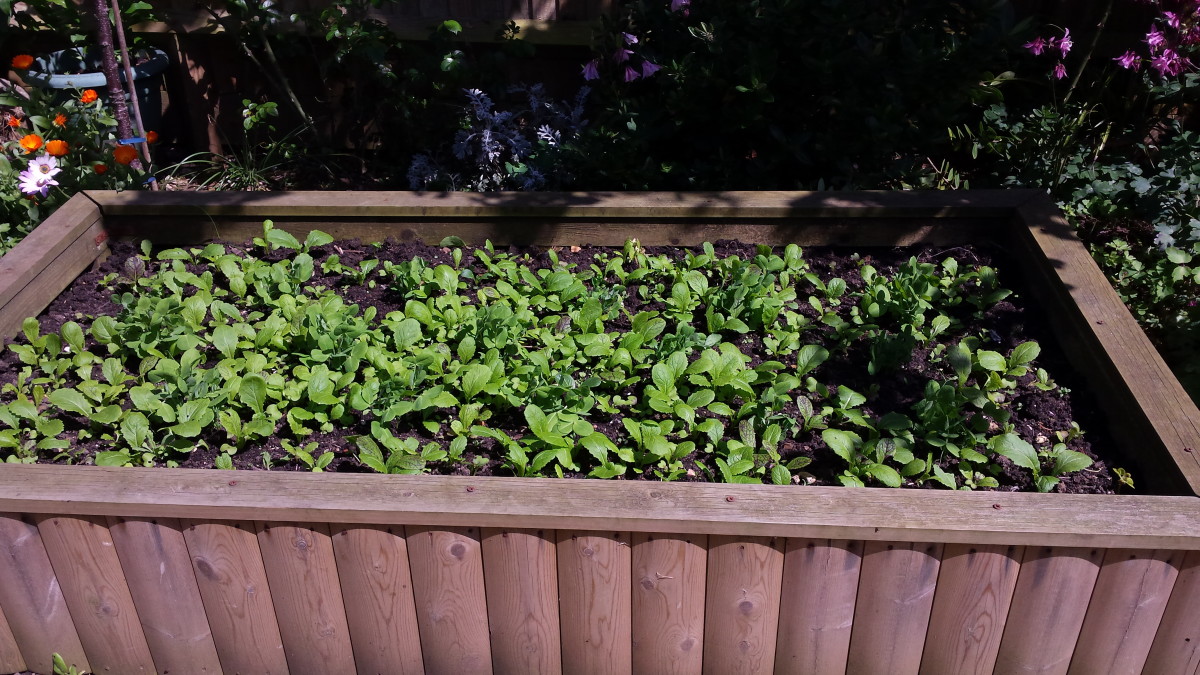
Edible plants with ornamentals
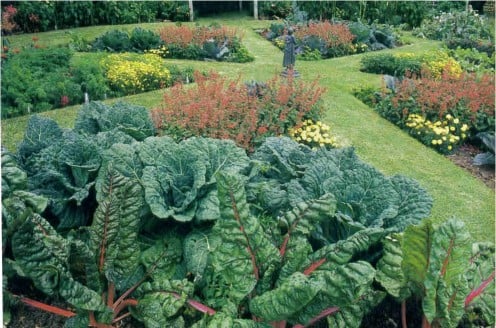
Plan before planting:
Whichever seeds you choose, and whether planting for ornamental beauty or a rectangular plot for just vegetables, planning is crucial. Be sure to look at how tall they'll be and other particulars such as how much room they'll need. For example, melons can't be squeezed into a mini row - they branch out and require lots of sun. I've grown sunflowers that reached 7 feet tall. It would be much tougher to take care of smaller plants behind taller ones. There's nothing worse than going through all the trouble of germinating and planting for your garden for it to become an unruly mess.
See additional tips to save your back, time and money in PRESIDENTIAL GARDENING Historical victory we can all enjoy
HAPPY GARDENING!


